


Let's draft a pattern for my latest obsession
the drop-shoulder, cropped thing that I made up from a thrifted sweatshirt that says GEORGE"S GARDENING

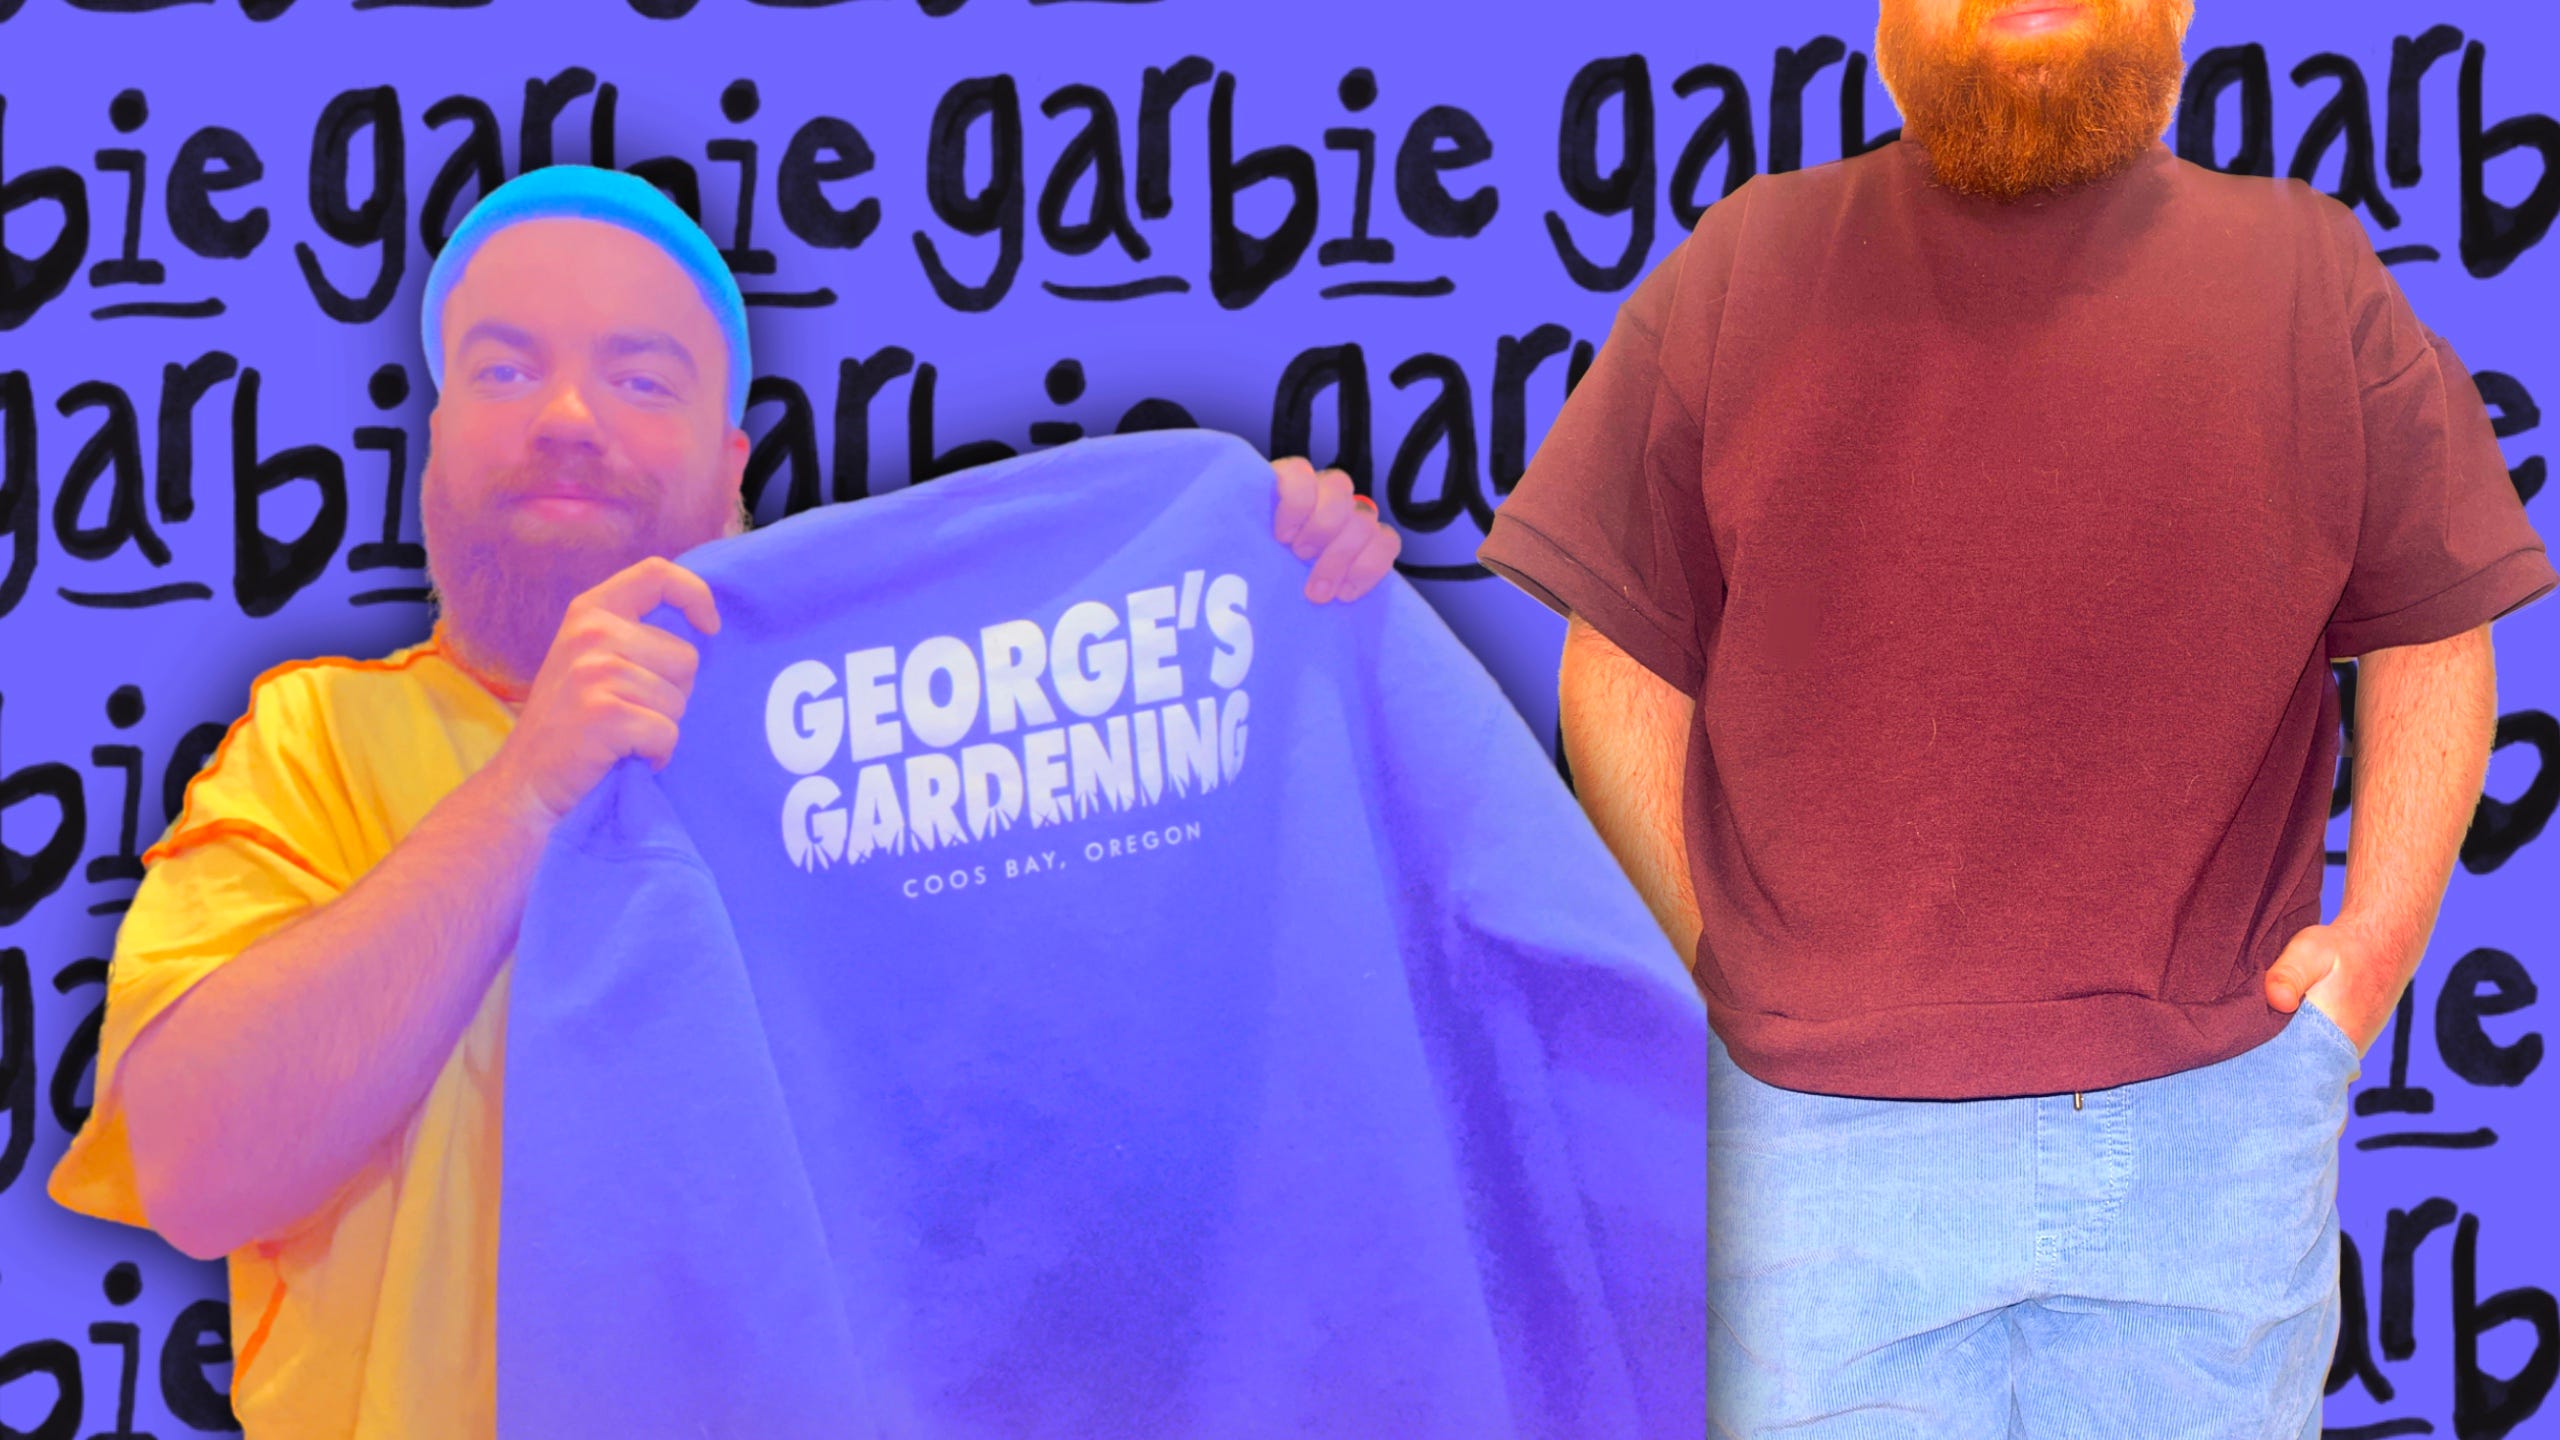
Little did I know when I thrifted a random sweatshirt from the bins a few months back, that I would fall head-over-heels in love with its pattern. The garment itself is an advertisement for George’s Gardening in Coo’s Bay, Oregon. I thought I would either lounge around the house in it or cut it up for fabric when the mood struck, or both. My love affair truly began when I copied the pattern of the sweatshirt and made a cropped t-shirt. HOW MARVELOUS! It turned out so good that I made two more in rapid succession. I would like to spend this edition of GARBIE dissecting the reasons for my love of this pattern. I hope to bottle up those reasons in this post so that you can make a similar t-shirt for yourself. I believe we all need a fun and flowy cropped tee to frolic in this summer.
Making the Pattern
For these steps you may find it helpful to lay your body block down and create a new pattern on a large piece of paper. I got a roll of kraft paper from my local reuse store and it works great! You could also simply lay your front body block panel down and eyeball the follow alterations that I make. However, it is best to trace it out in this case I think.
To download your very own body block, head over to Free Sewing and print out the Brian Body block in your size. For this tutorial I am technically Only using the front panel piece.
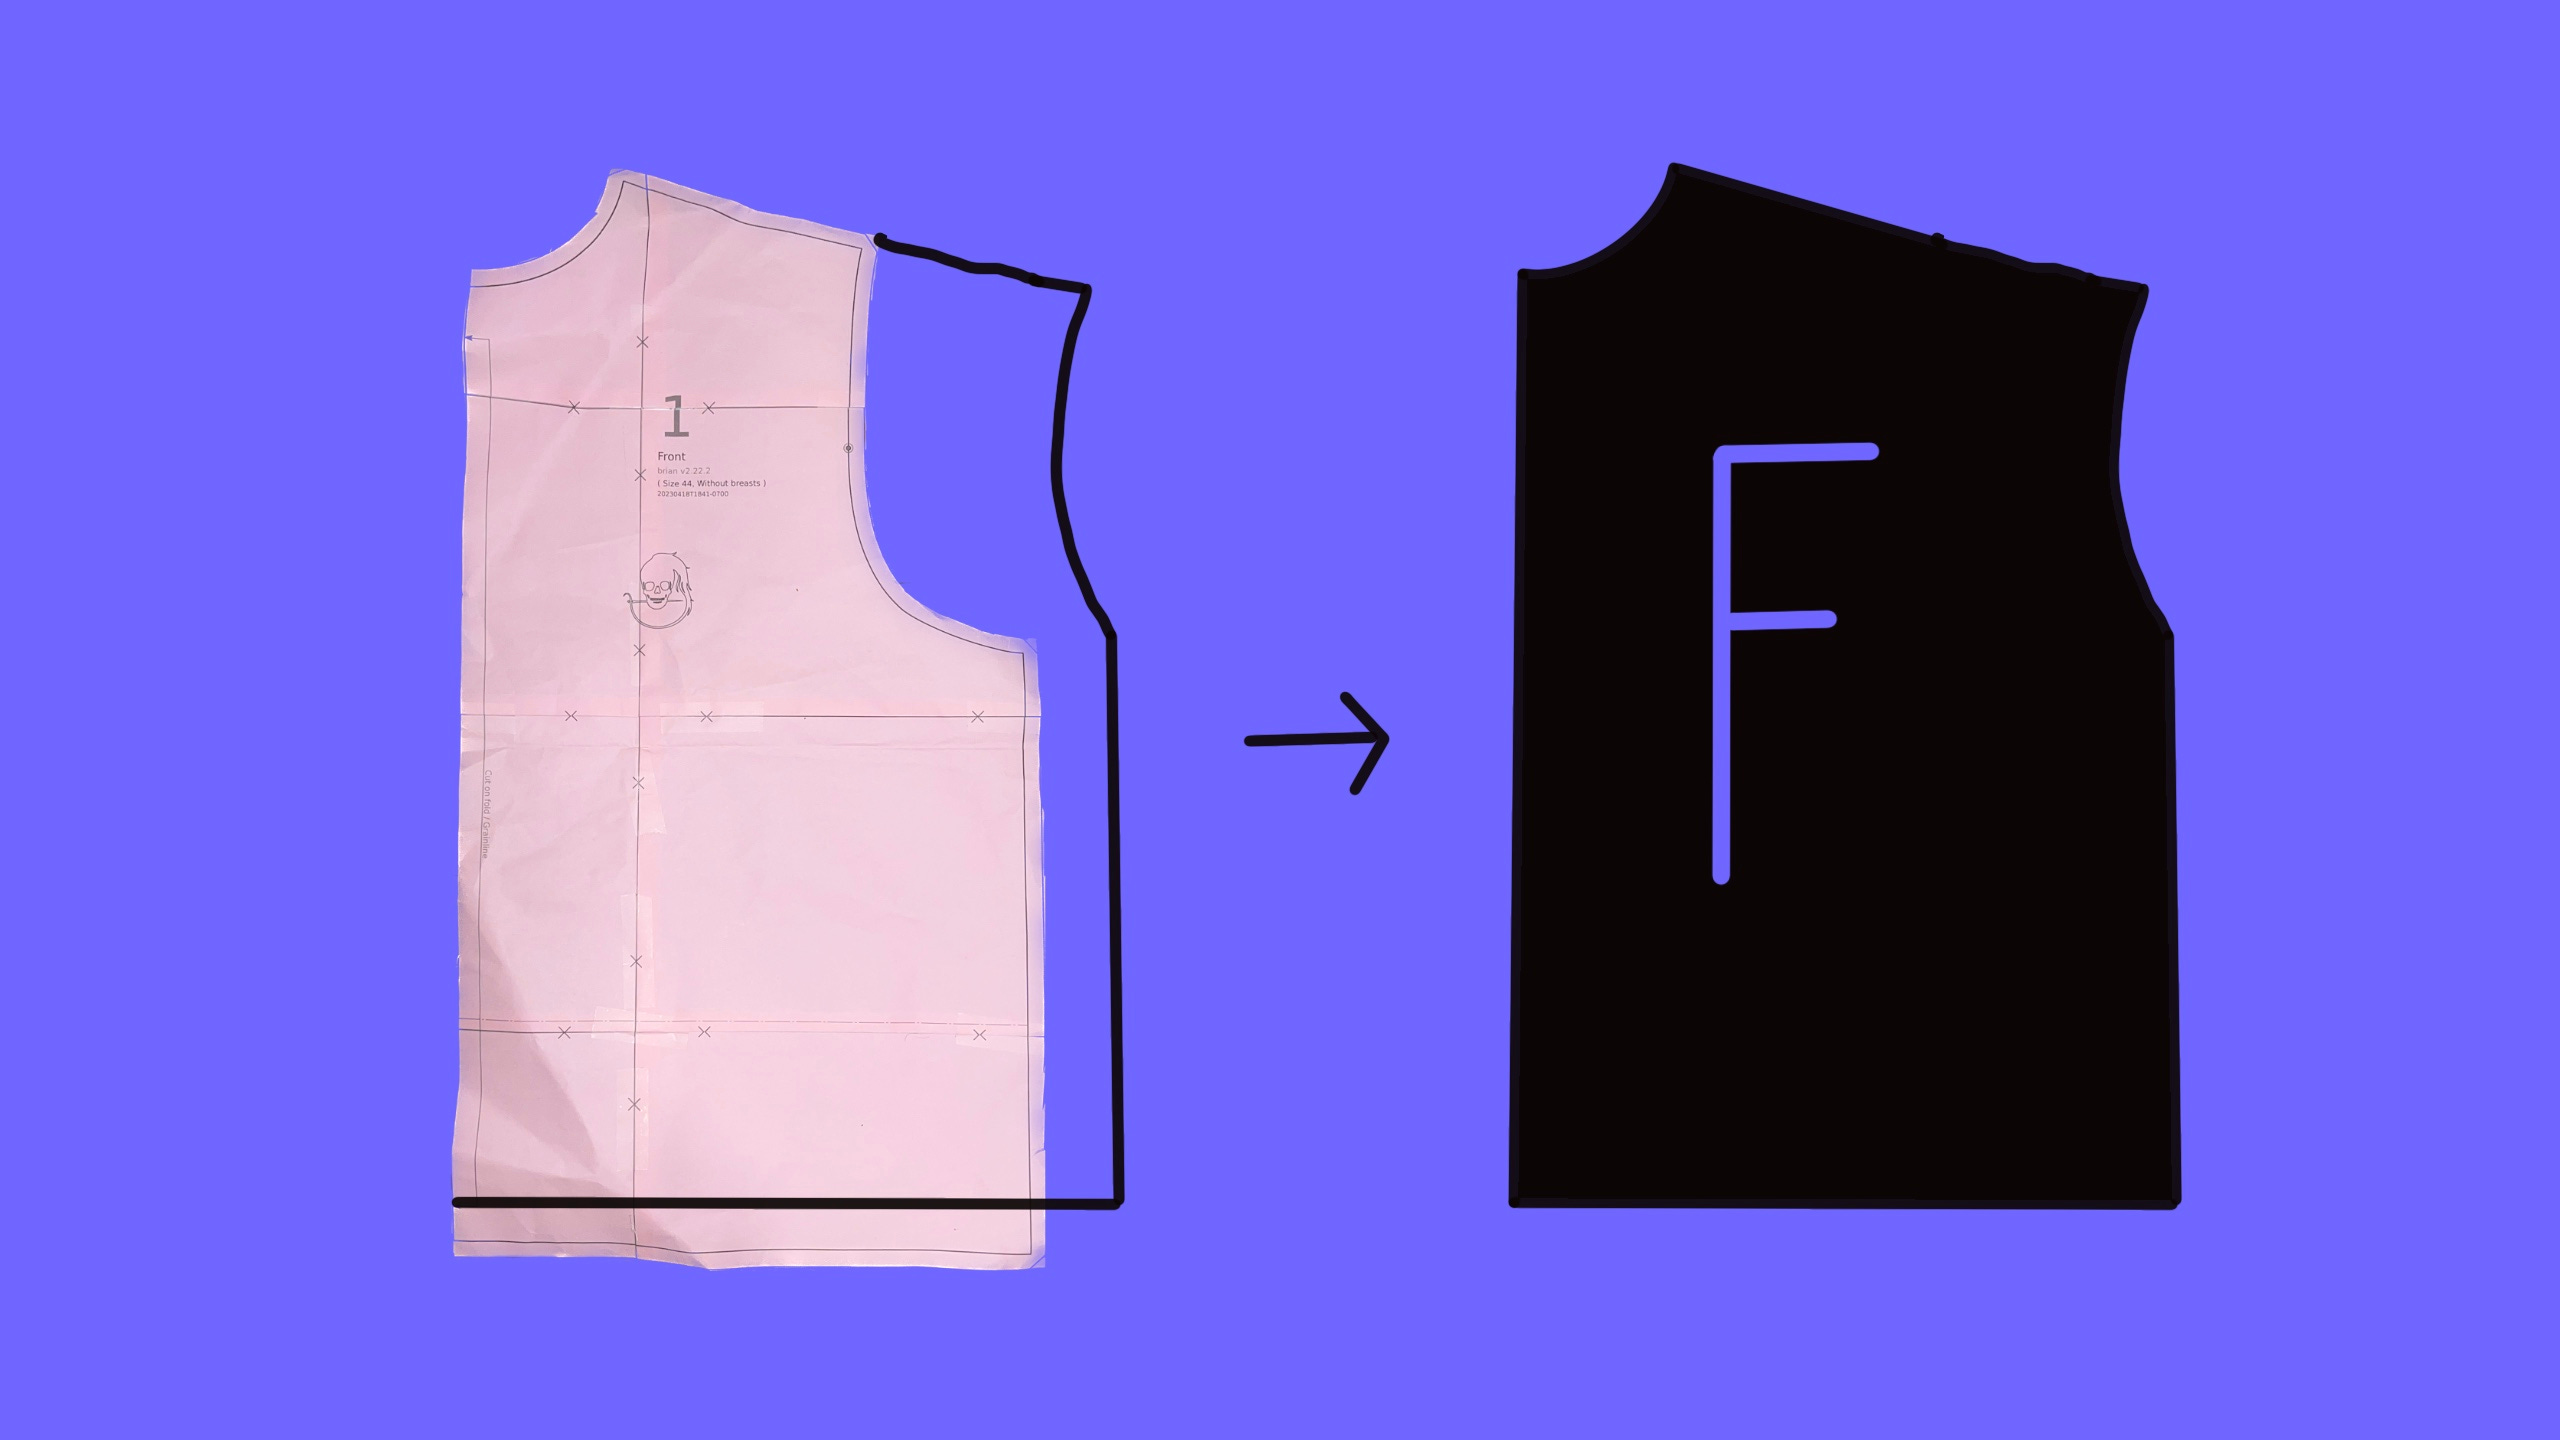
1. Creating the Front Panel (F)
In order to create the front panel (F) you are going to extend out the shoulder of your body block. Extend it to the line of the outermost part of your body block. It should be parallel to the armpit point of the original body block. Next, you will shorten the length of your body block by drawing a line 1 inch up from the bottom of your block. Extend this line across and out from the side of your block by another inch. From this point, draw a line up to the armpit point of your block. Then, draw a curved line from the shoulder point to the armpit point. These steps are pictured below. Basically you want to extend the should and side, while shortening the bottom so that it is cropped.
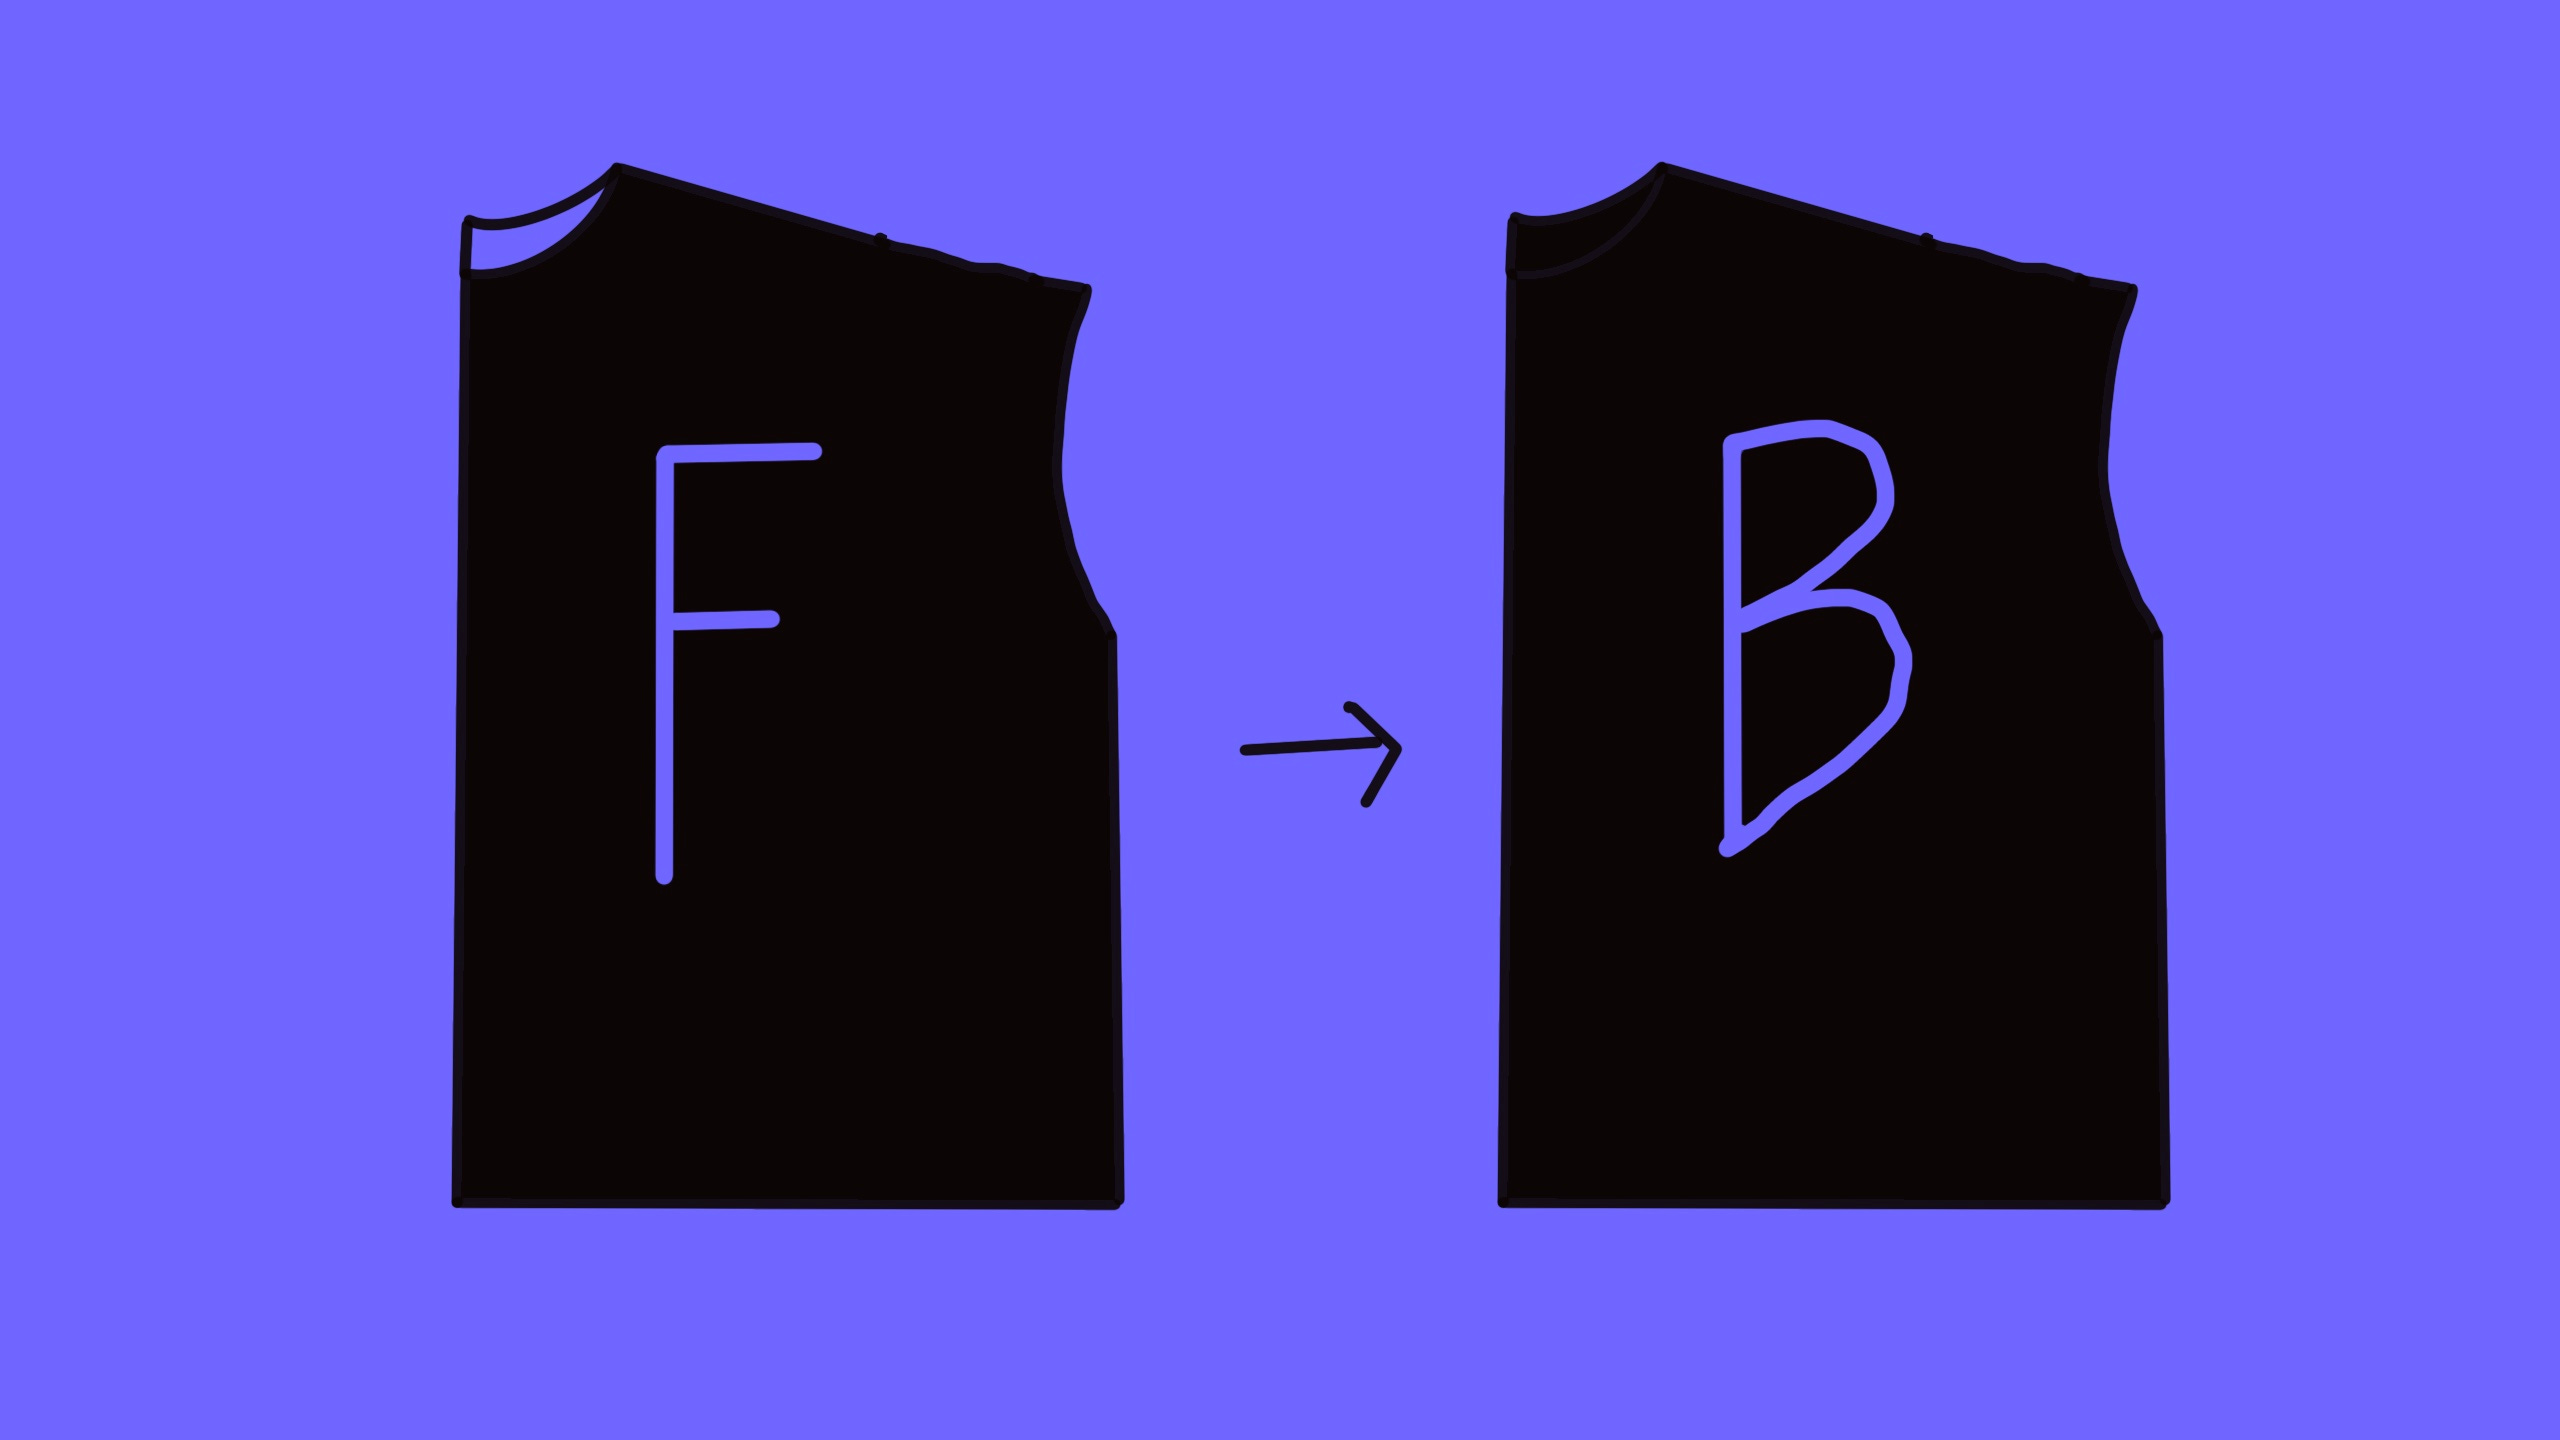
2. Creating the Back Panel (B)
The back panel is easy to patten. The only difference is the neckline, which is less deep. Honestly, I would not bother with creating a whole other paper piece, I would simply cut the neckline from a higher point when I am cutting out the back panel.
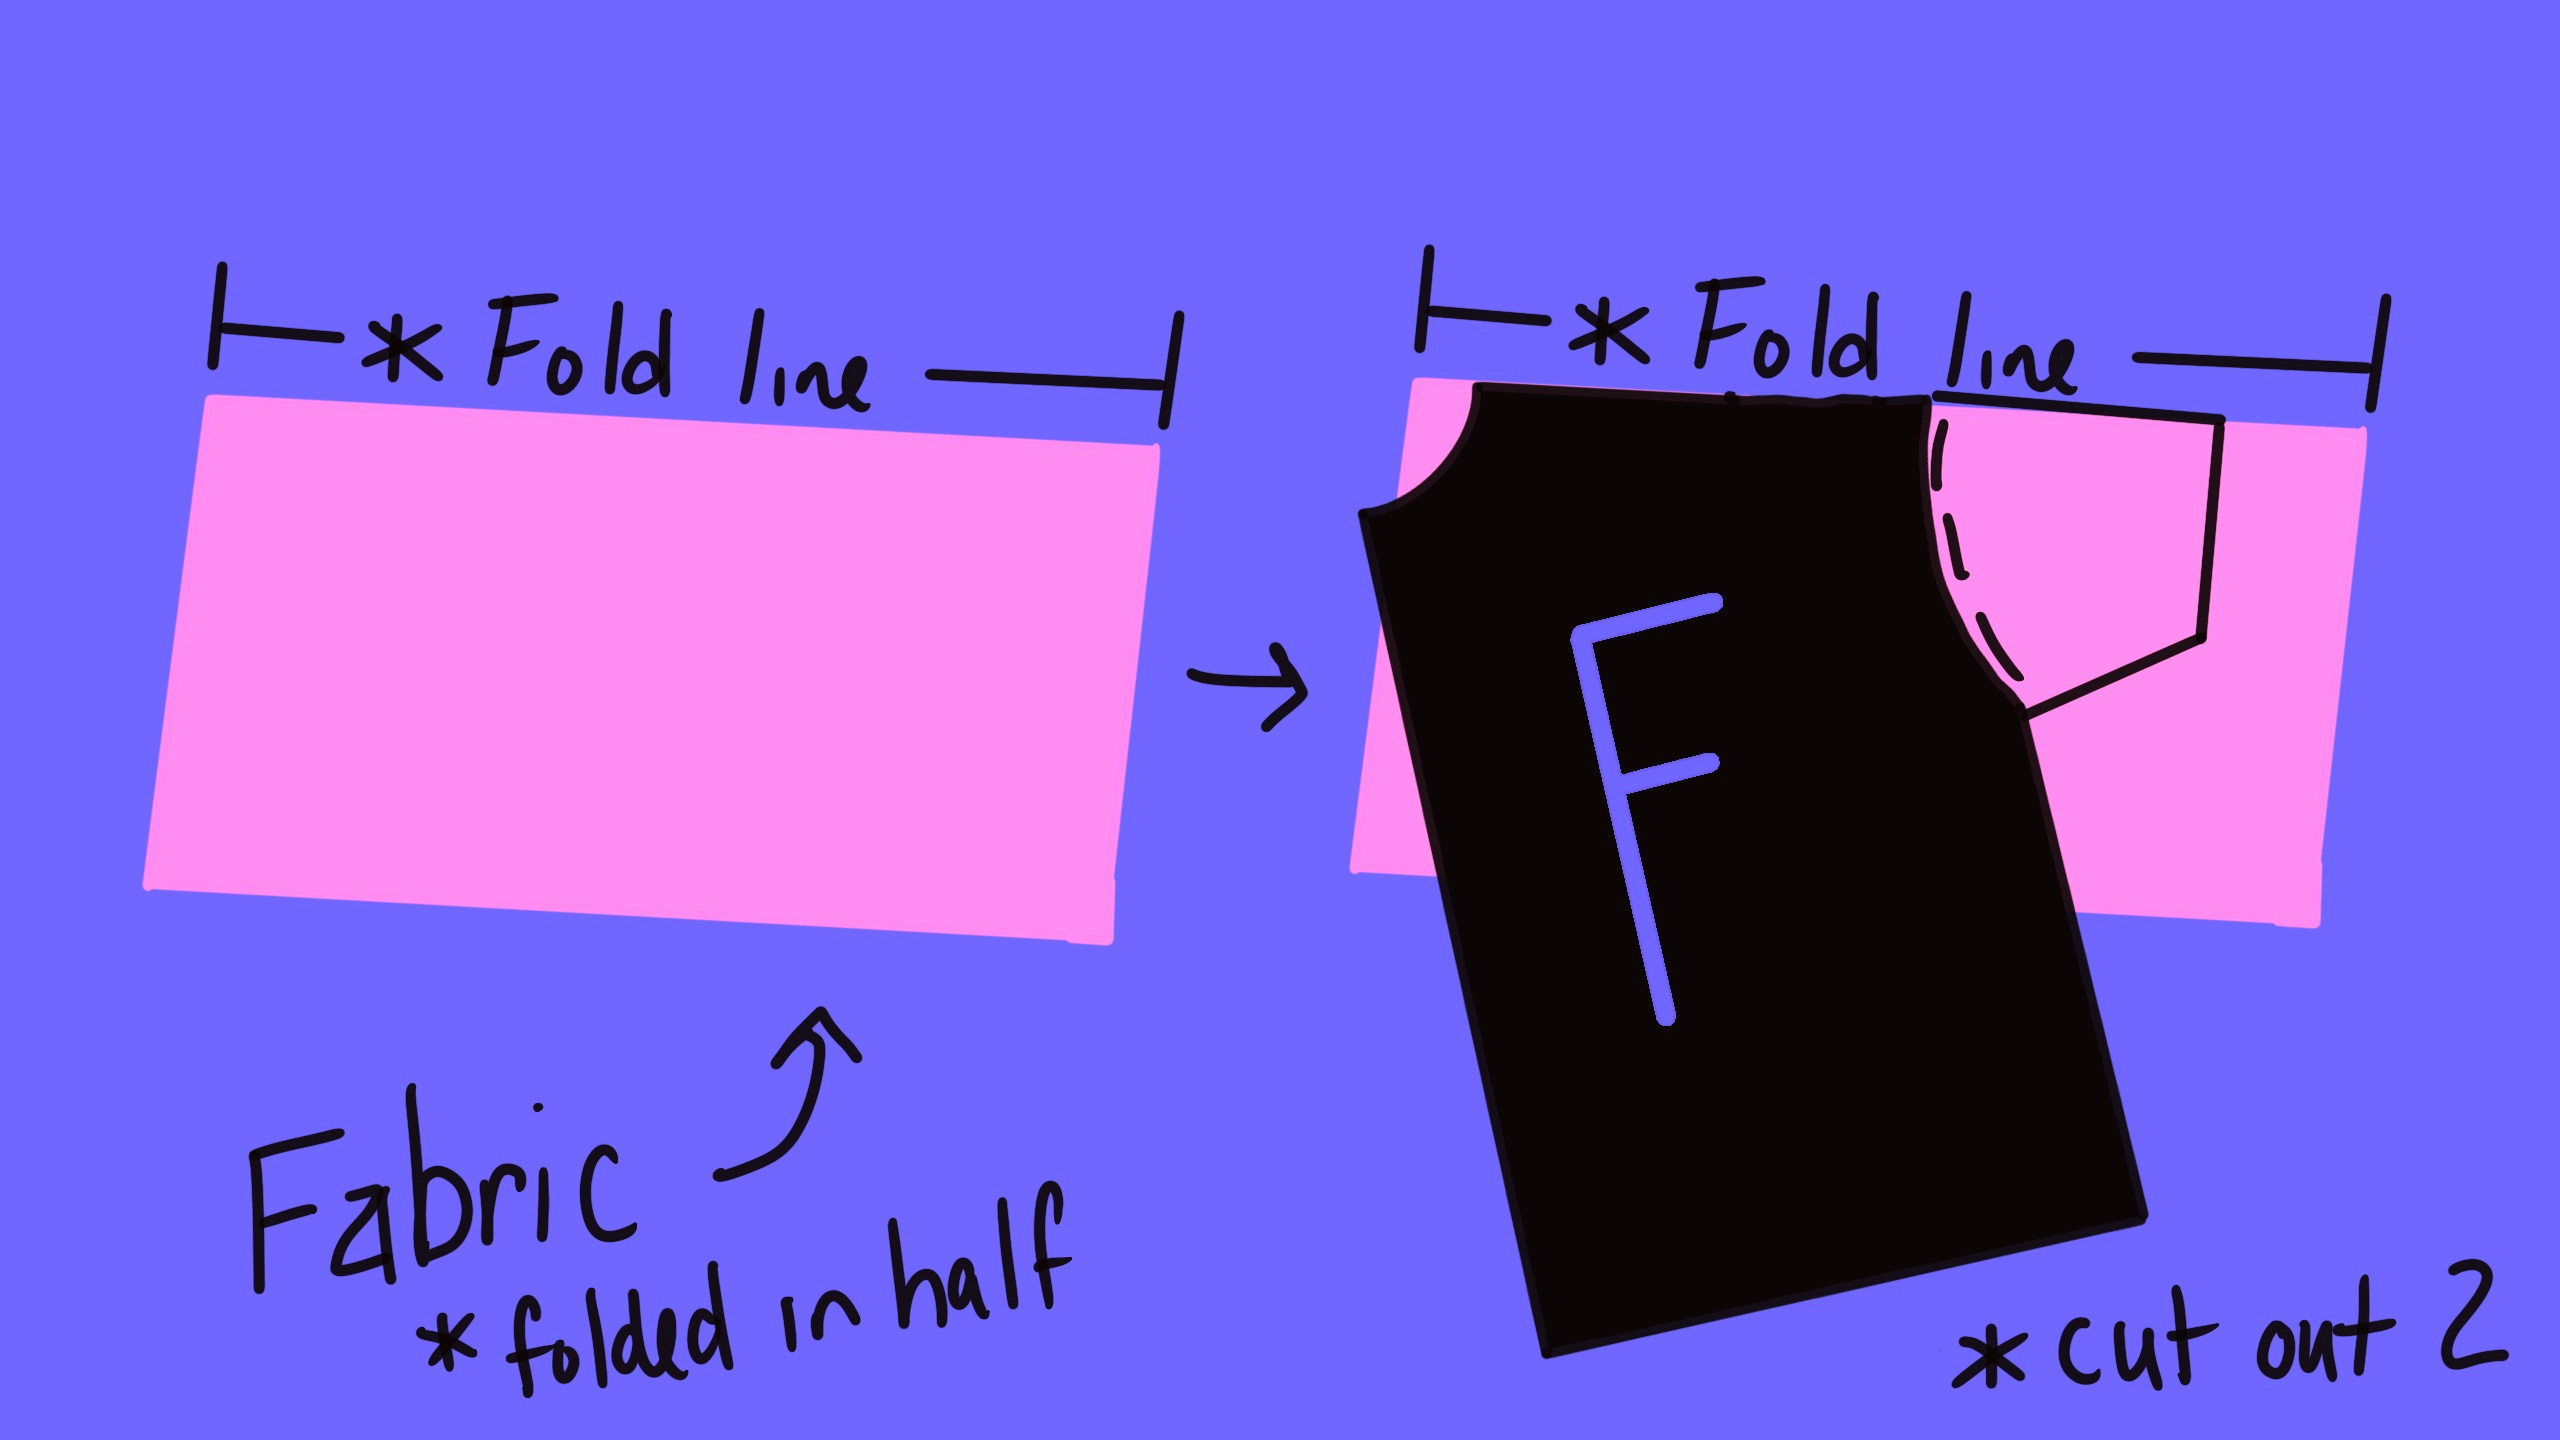
3. Creating the Sleeve Patten
This might be non-traditional in the pattern-making world, but this is how I make the sleeve when I am doing this type of work. Essentially I lay my front panel down on a folded piece of fabric. I trace the curve of the front panel and then extend a ways until I get the desired length of the sleeve I want. I usually cut out a longer sleeve to begin with and then trim it when I am doing my finishing touches.
One important thing that I always do is use the first sleeve that I cut out to cut out my second sleeve piece so that they are symmetrical.
For more information on cutting out and constructing your garment, see my first post here:
Final Thoughts
I have been LIVING in these shirts since I made them. They are oversized sort of, in the best ways. I will def be wearing all summer long! Please leave a comment if you are confused about any of the steps above and I will do my best to answer. ALSO, consider sharing this post with a friend if you found it helpful!
.