


Sew a Top, Ride a Body Block
The way I use a basic sewing pattern to create shirts and sweaters for myself

I believe that you are an expert when it comes to clothing. You wear it every day. You have it stockpiled in your house like rare jewels. You KNOW about clothing and more than that you know what you LOVE about clothing. You know what makes you feel comfortable and powerful and bold.
This week on Garbie, you are going to access that clothing knowledge by making a top that speaks to what you love most about clothes.
Before we do that, let us run over the basics.

A body block is a basic sewing pattern that is made to your measurements. It is like the base and you can create different garments by altering the body block, instead of buying different sewing patterns. I love using a body block because it allows me to not worry about if one of my creations is going to fit me or not. All I have to worry about is the creative part.
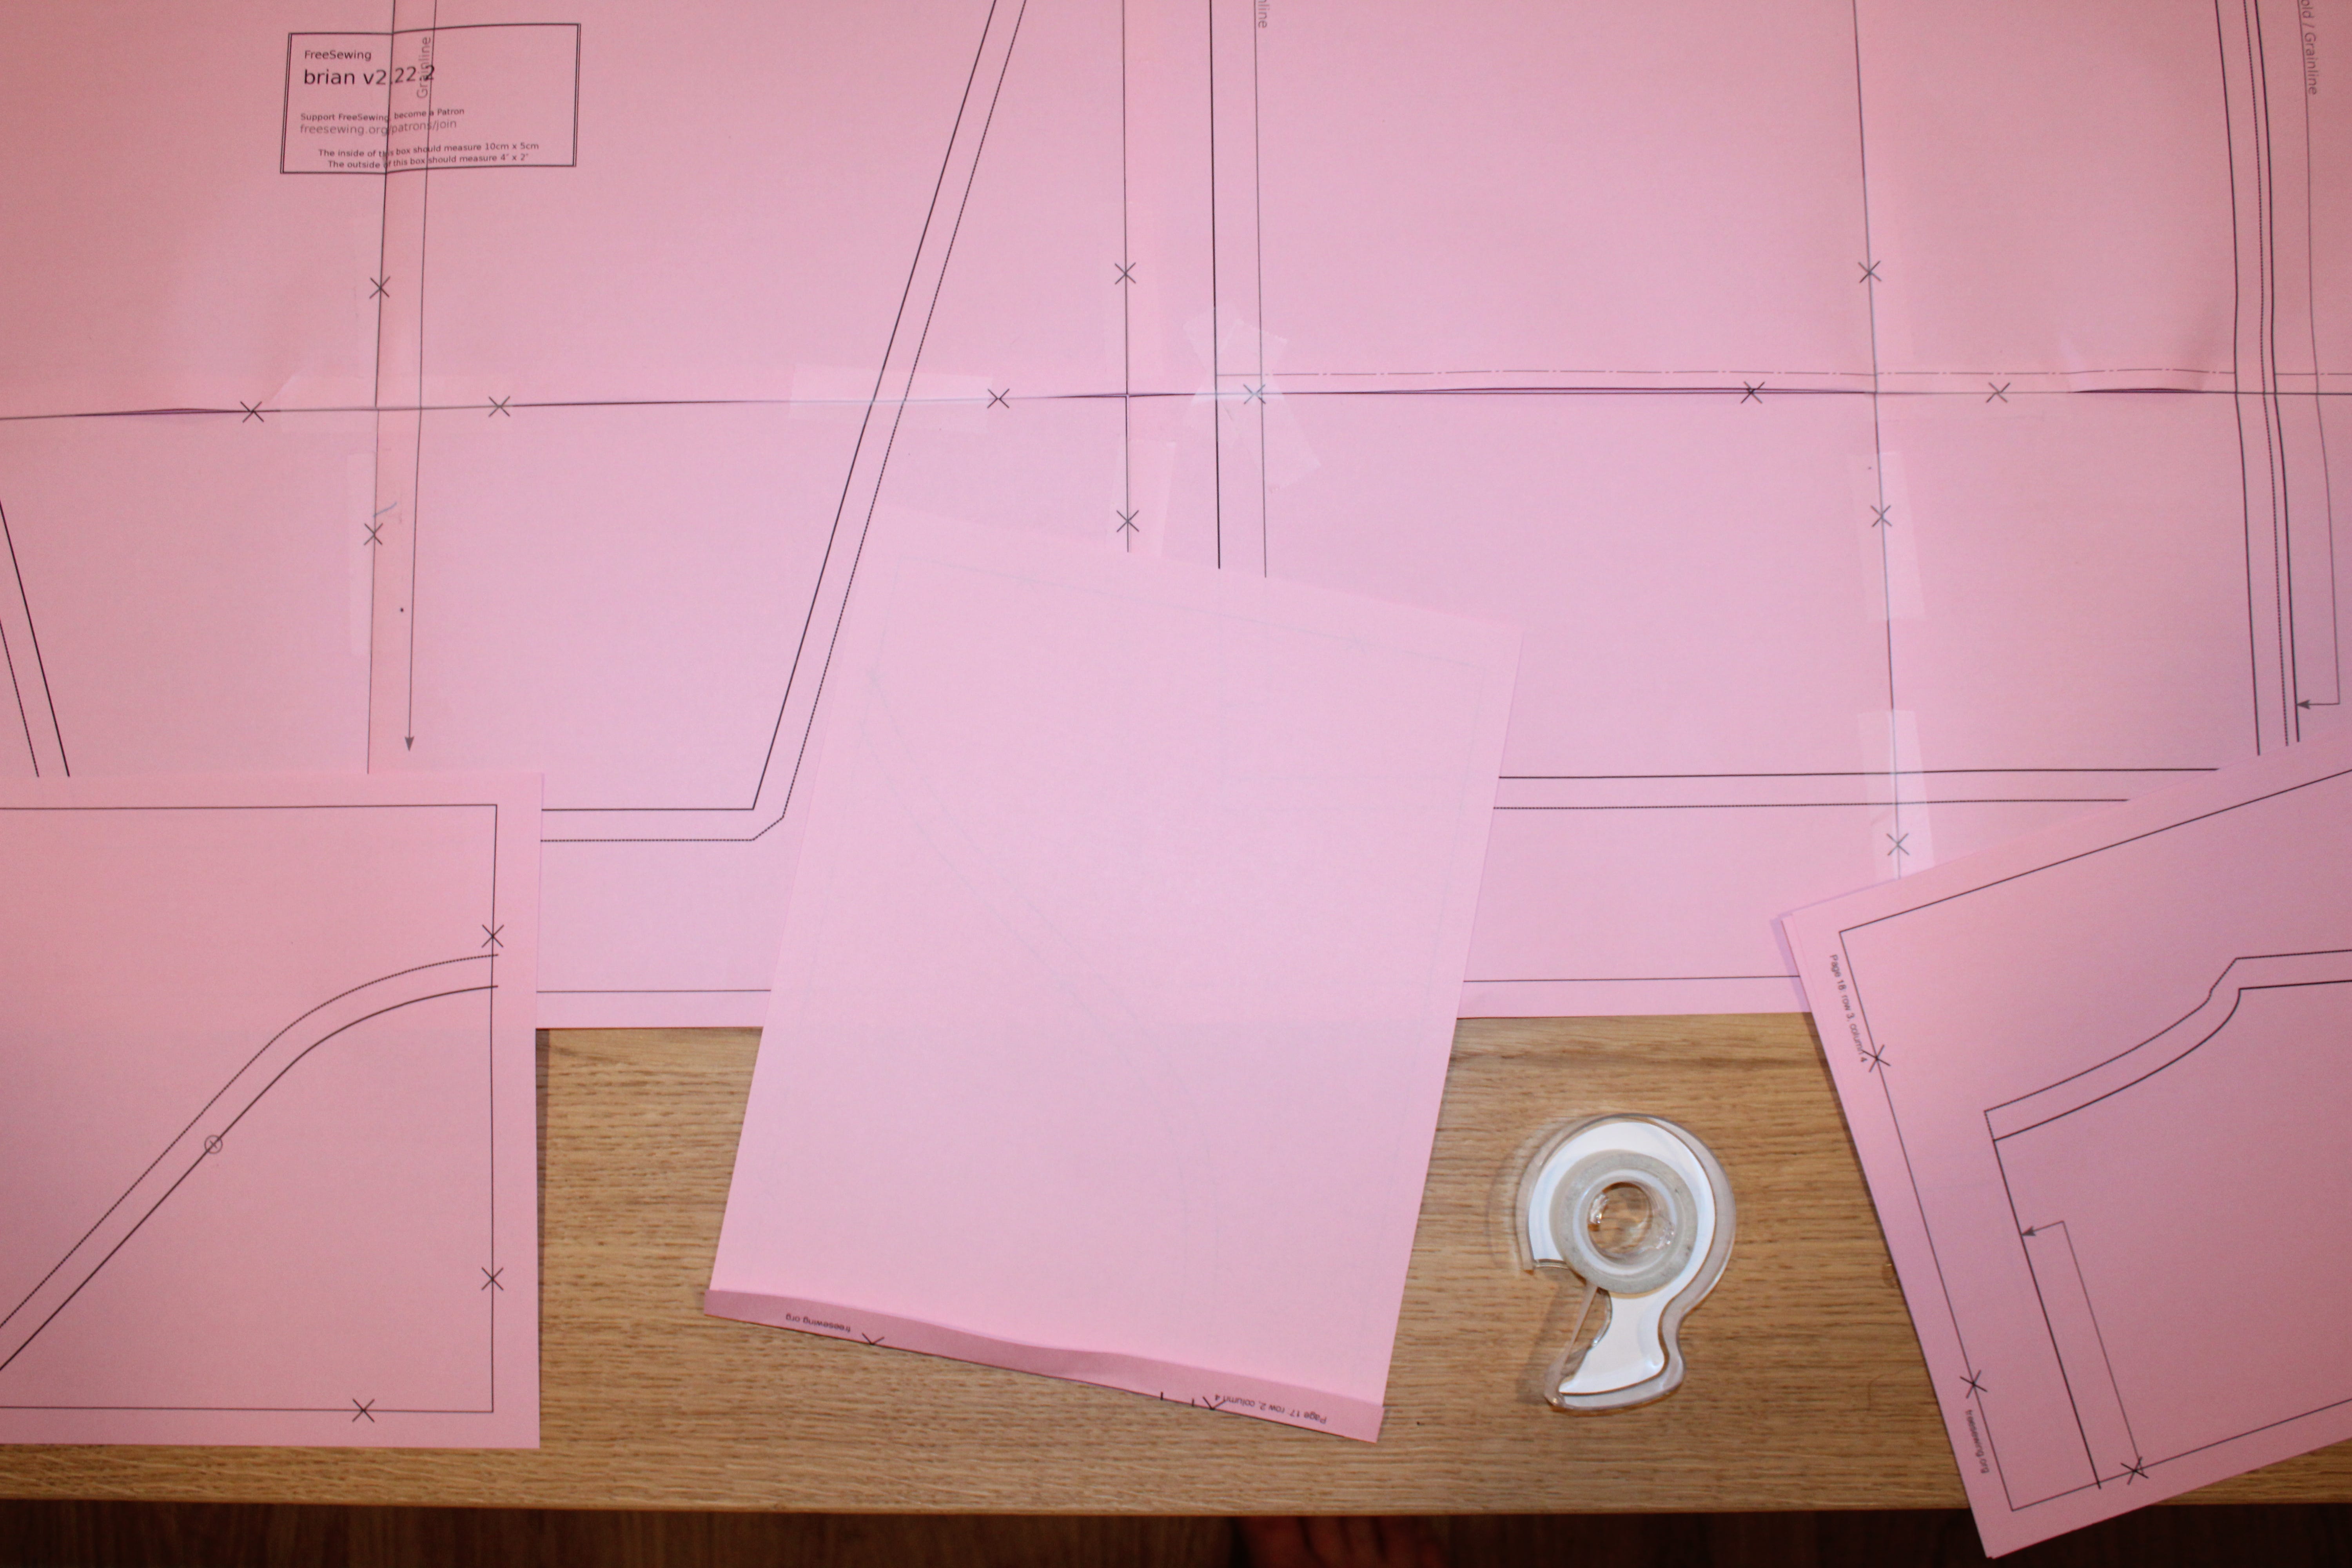
My favorite way to generate a body block is on FreeSewing.org because they have options to generate the block in your exact measurements. All you have to do is make an account and build your own profile by measuring yourself and inputing the numbers. They even have a step by step tutorial for that.
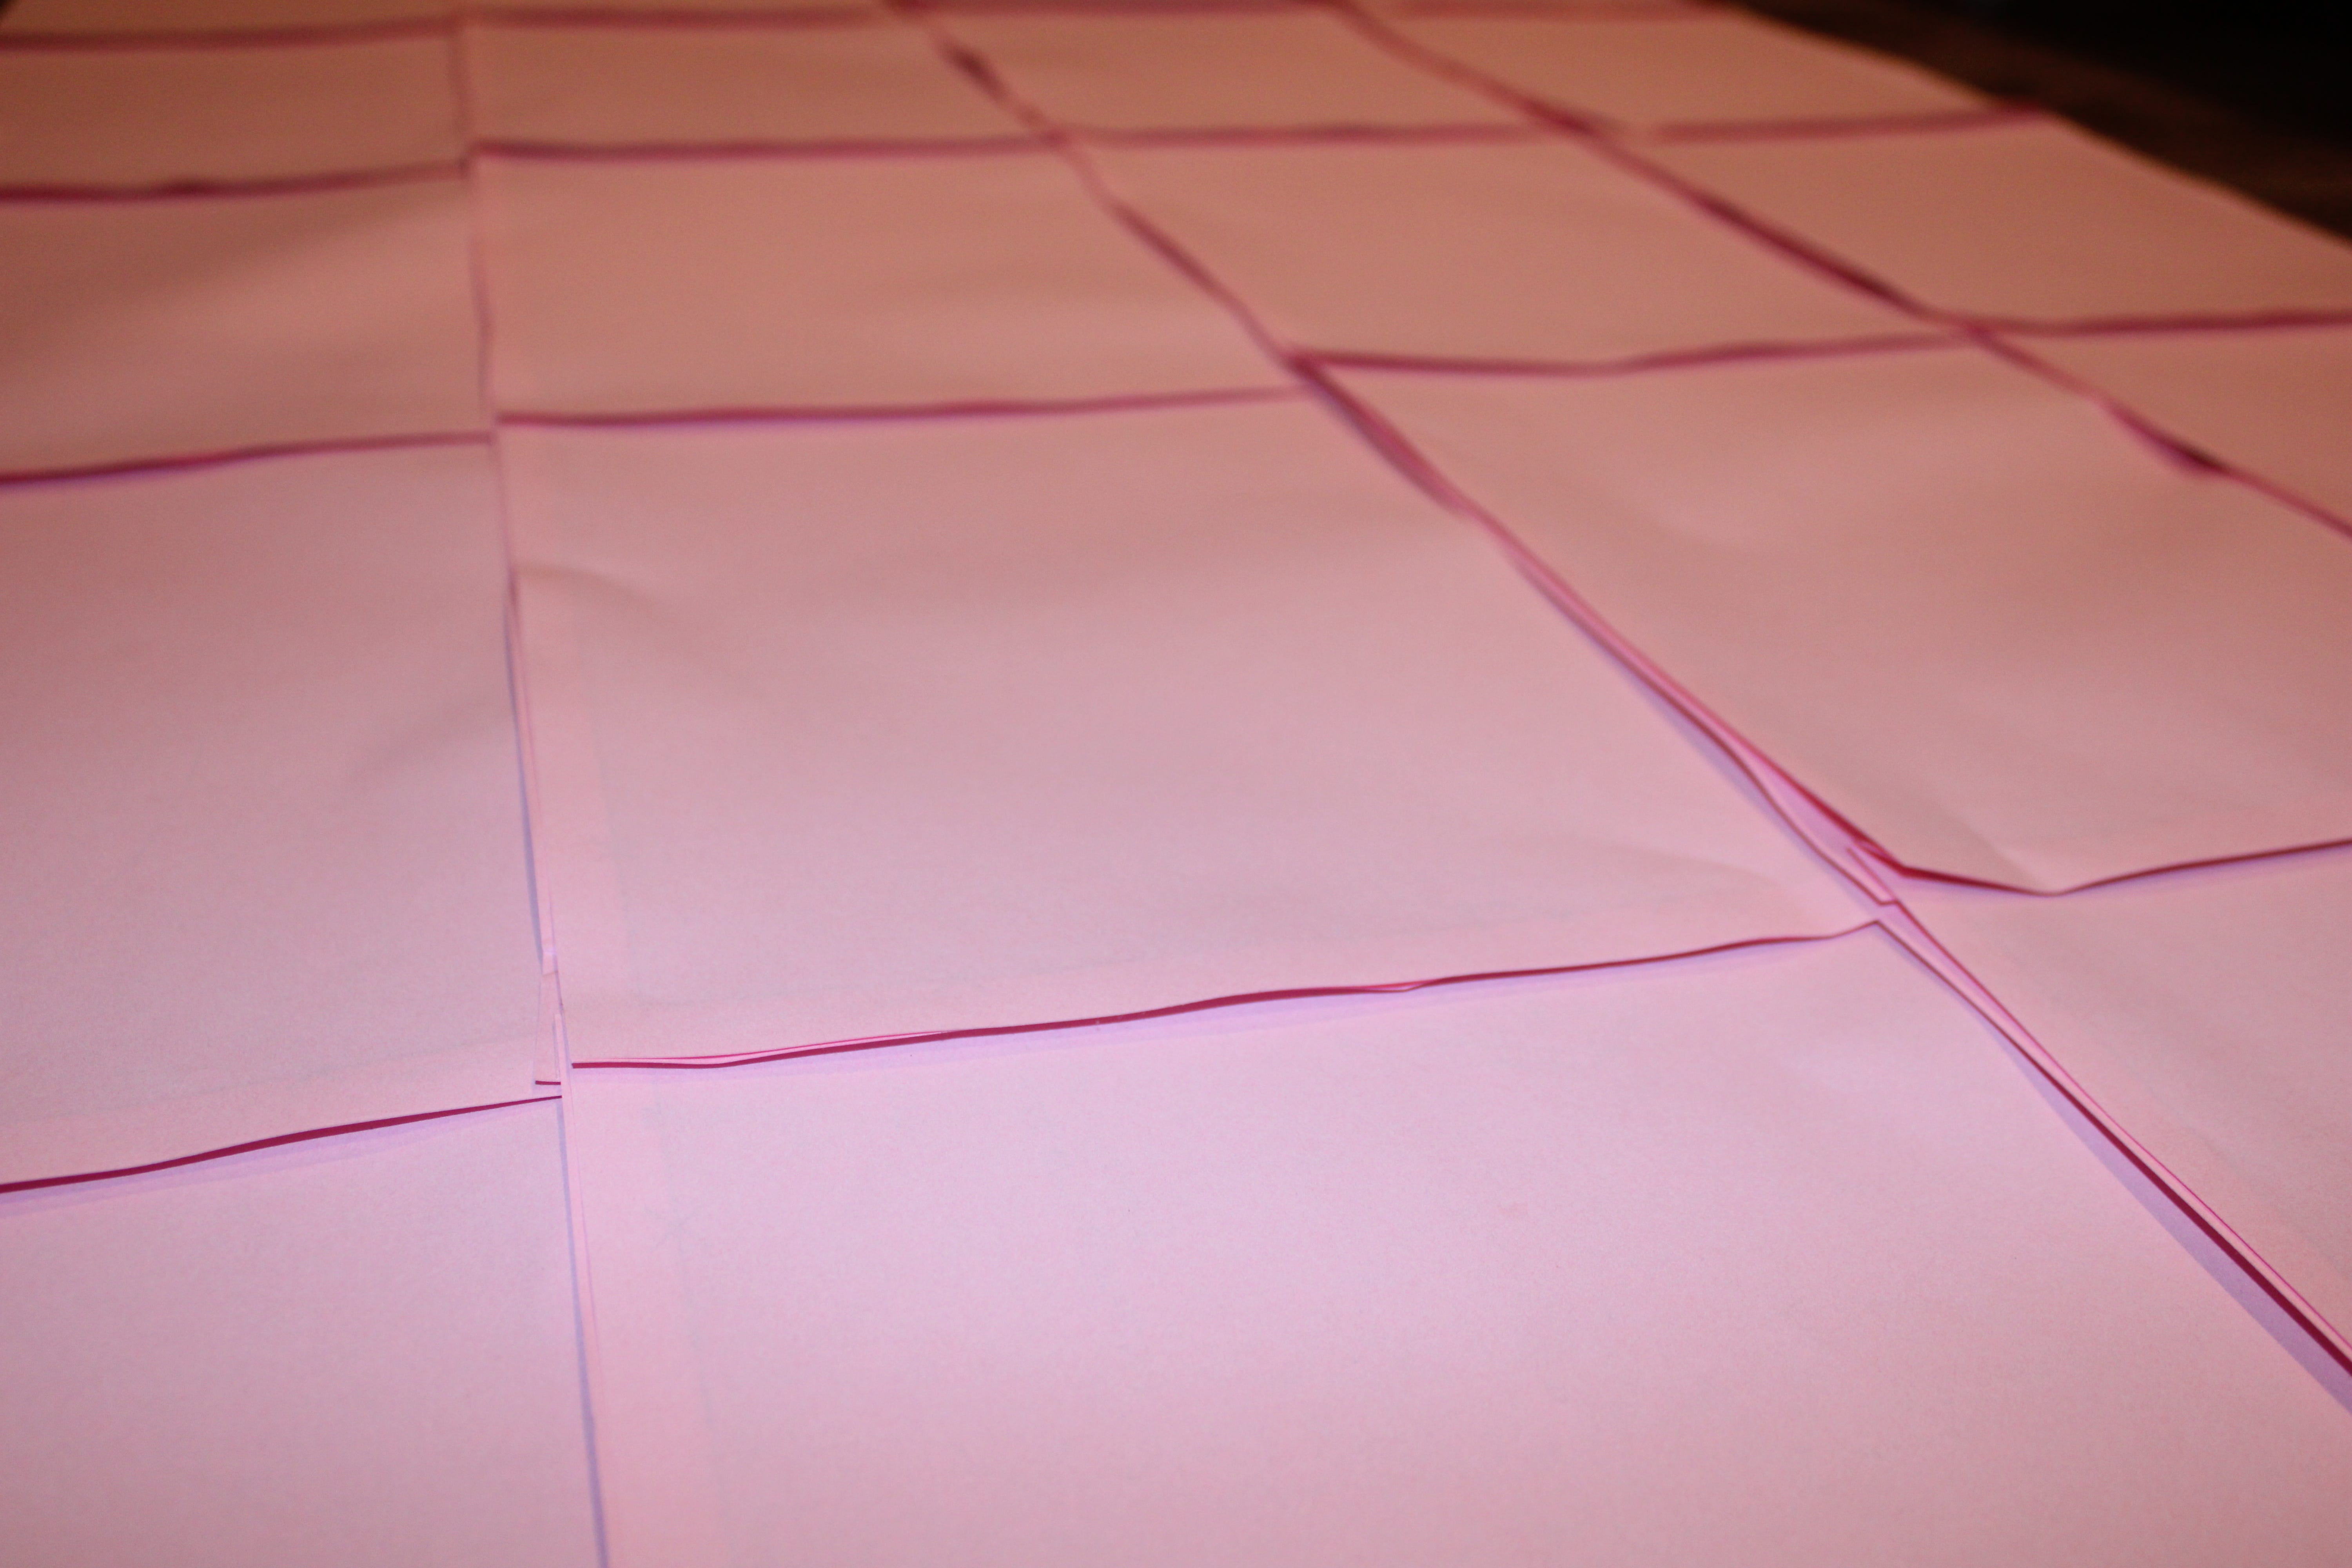
The body block that they have for a masculine silhouette is called the Brian Body Block and you can find it here. They also have standard sizes from 3XS to 4XL and you can generate the pattern with or without accounting for breasts. You can follow their instructions for exporting the pattern and printing it at home.

Now that you have your body block in your desired size, we can talk about the shape of clothes and how to put the damn thing together.

Once you cut out your pattern pieces from a basic body block, you will have three basic shapes: a front panel, a back panel, and (2) sleeve pieces. The front and back pieces may seem similar, but there are a few differences. You will notice that the front neckline is deeper than the back neckline. Also, the arm holes are probably slightly different shapes.

When you are done sewing the pattern pieces together you will want to finish the sleeve, neck and bottom edges to give your garment a professional look. I often add rib knit trim to these edges. You add rib knit by creating a circular piece of fabric, folding it in such a way that both edges of the fabric are aligned with the edge of the fabric that you are finishing and sewing it in place. I recently made a tiktok of this process here.

There is so much that can be said for constructing a garment, but I think it is so much more important to discover your own creative expression through garment making and to not get discouraged by all the “rules.” I find that perfection is oftentimes overrated and you will probably be prouder of a garment that you create, rather than one that you replicate.
I challenge you to construct a top this week using the above knowledge as a starting point. Seek out more knowledge online if needed, but the main point is to MAKE something. Focus on being CREATIVE! Maybe each pattern piece is cut from a different fabric, maybe you sew pieces of fabric together and then cut your pattern pieces from that design.
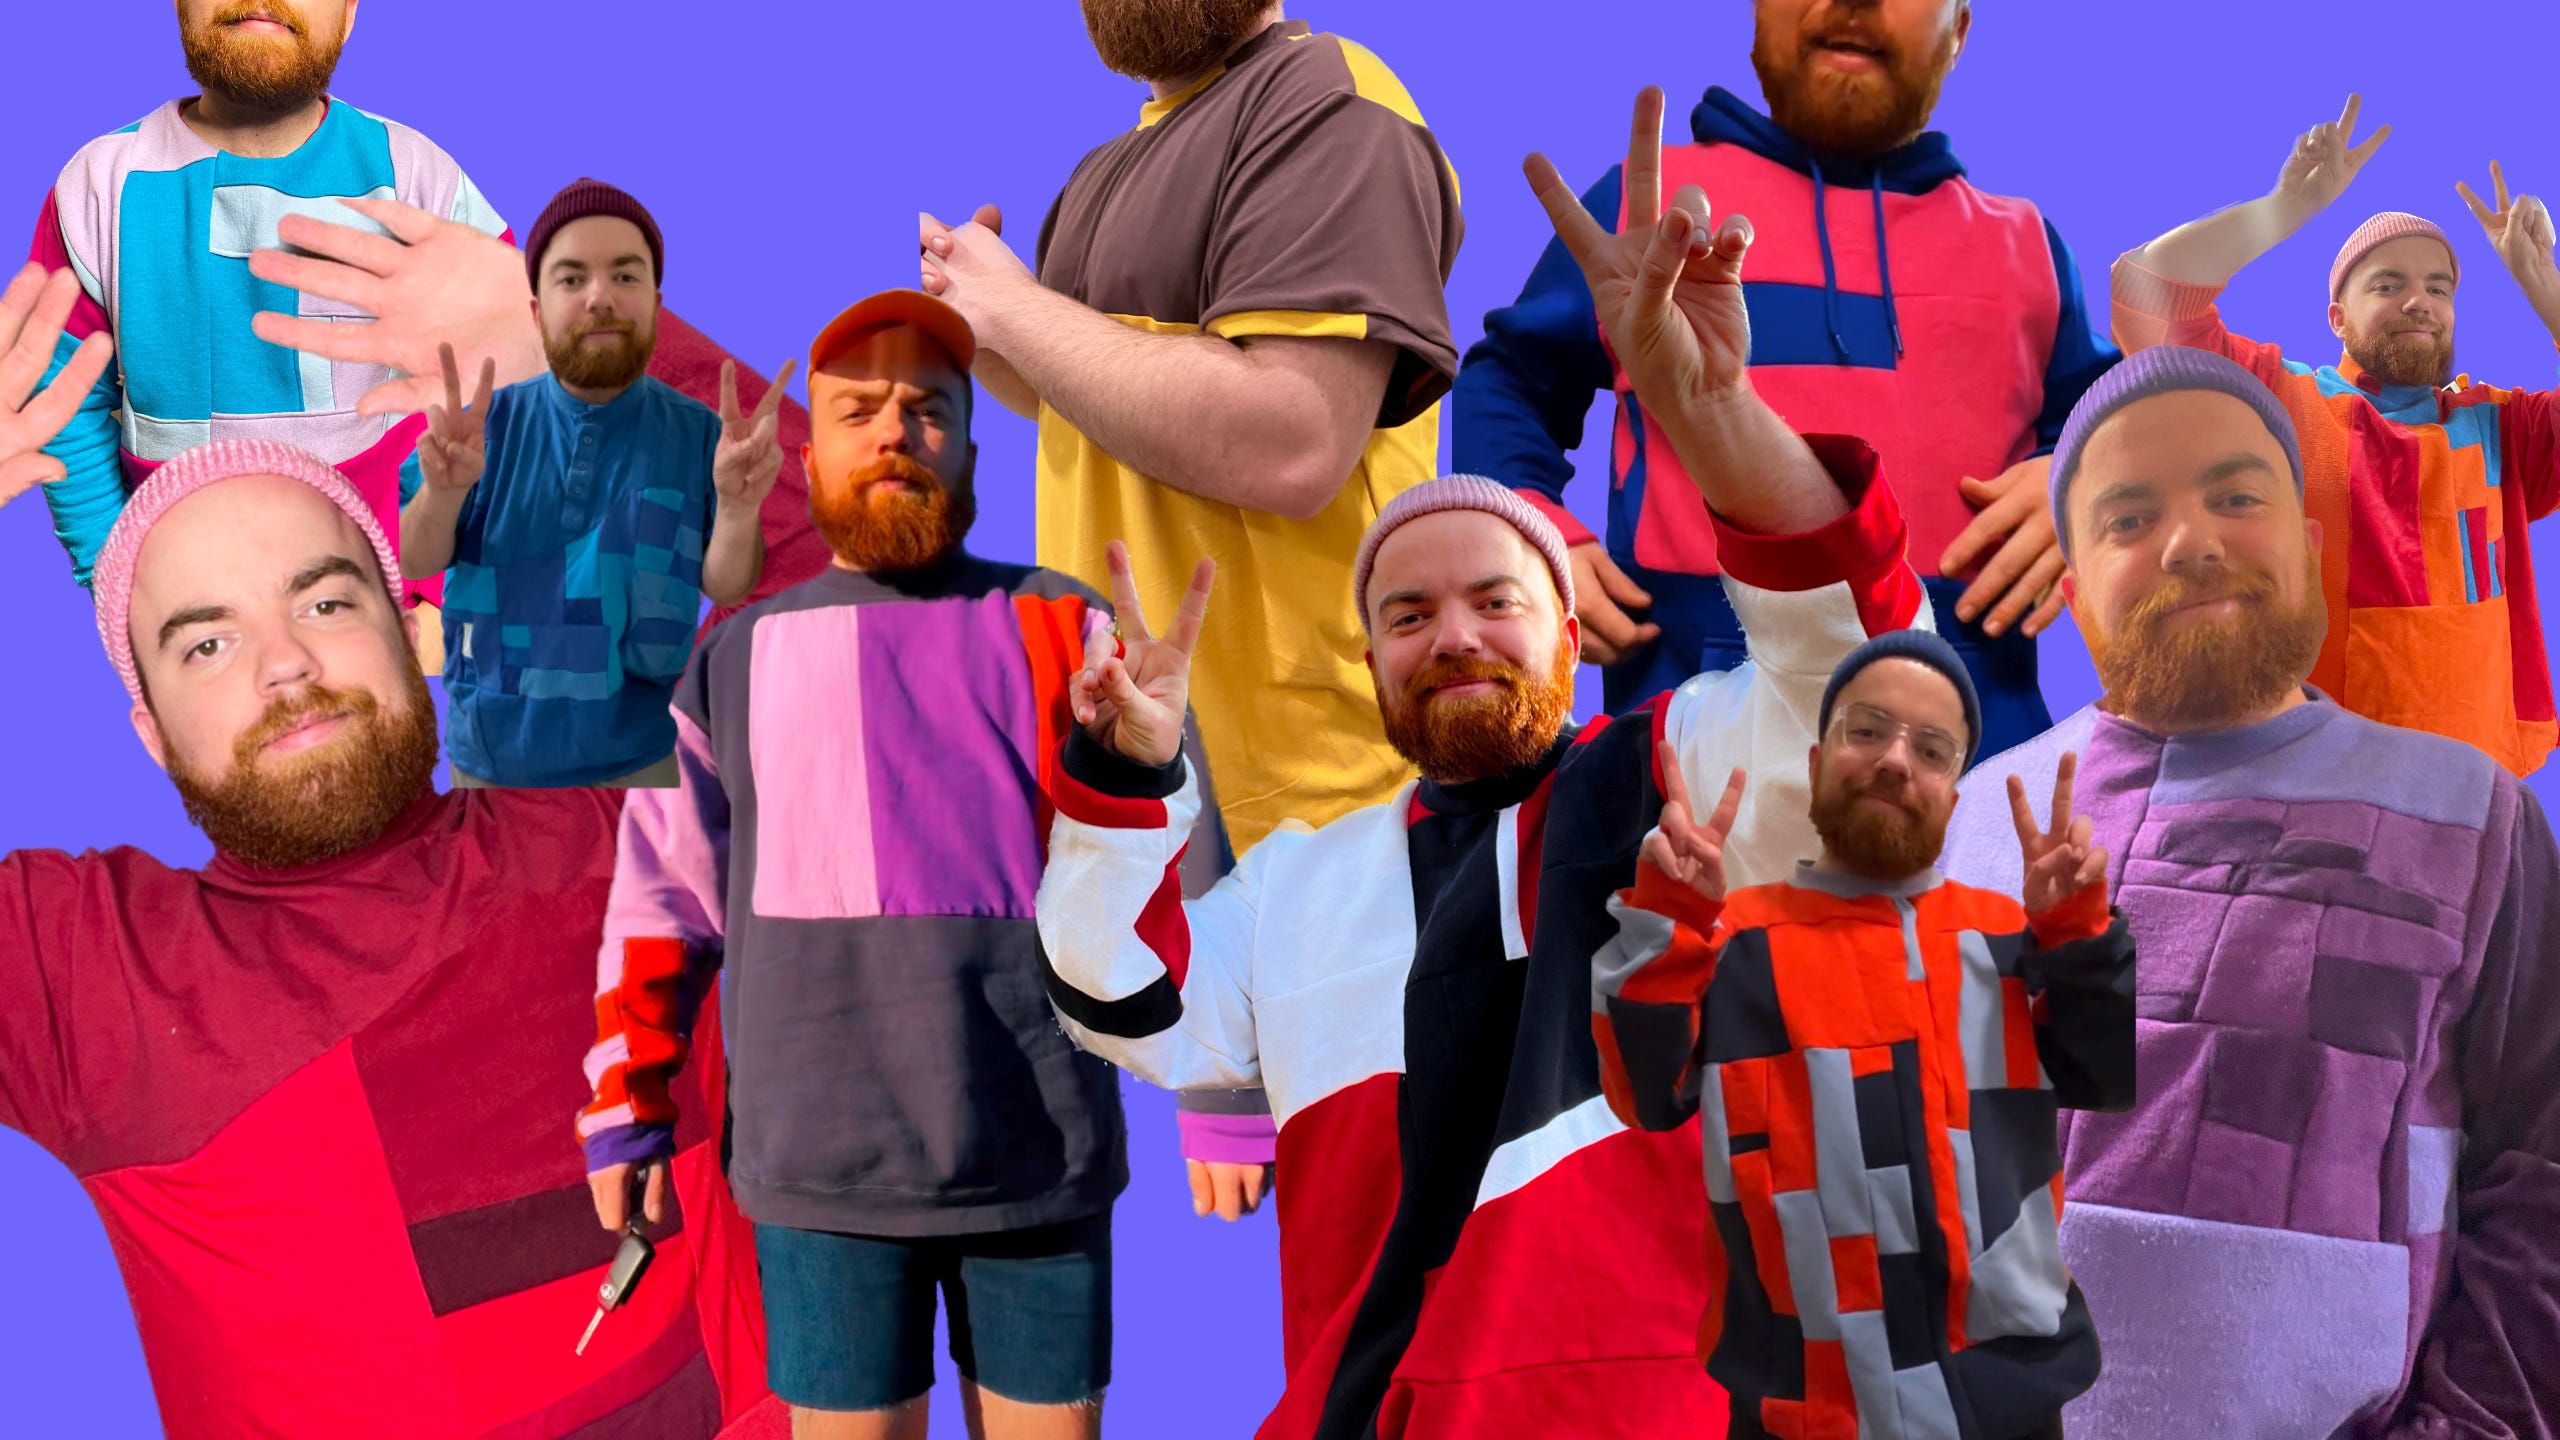
Some pieces I have made:
I know how I would create a garment, but I am so interested in seeing how YOU would create one. We will delve into more details in the coming weeks here on Garbie, but I want a baseline for us all. A starting point.
Paid subscribers will be getting a help video sent to them on Monday, based on the comments and questions asked on this post.
Come back here on Wednesday for a Show & Tell Thread where you can send in a picture of what you have created. (You will need to be on the Garbie website, using the chat feature to send a picture in). Also, feel free to ask your questions in the comments and I can answer them there.
Here at Garbie, the process is as follows: fail, repeat, fail, succeed, improve. I am here to give you permission to make less than perfect garments and wear it to the party anyway. I promise you will still get compliments.
This was so helpful - I just spent an hour playing around on free sewing and I feel so inspired!