


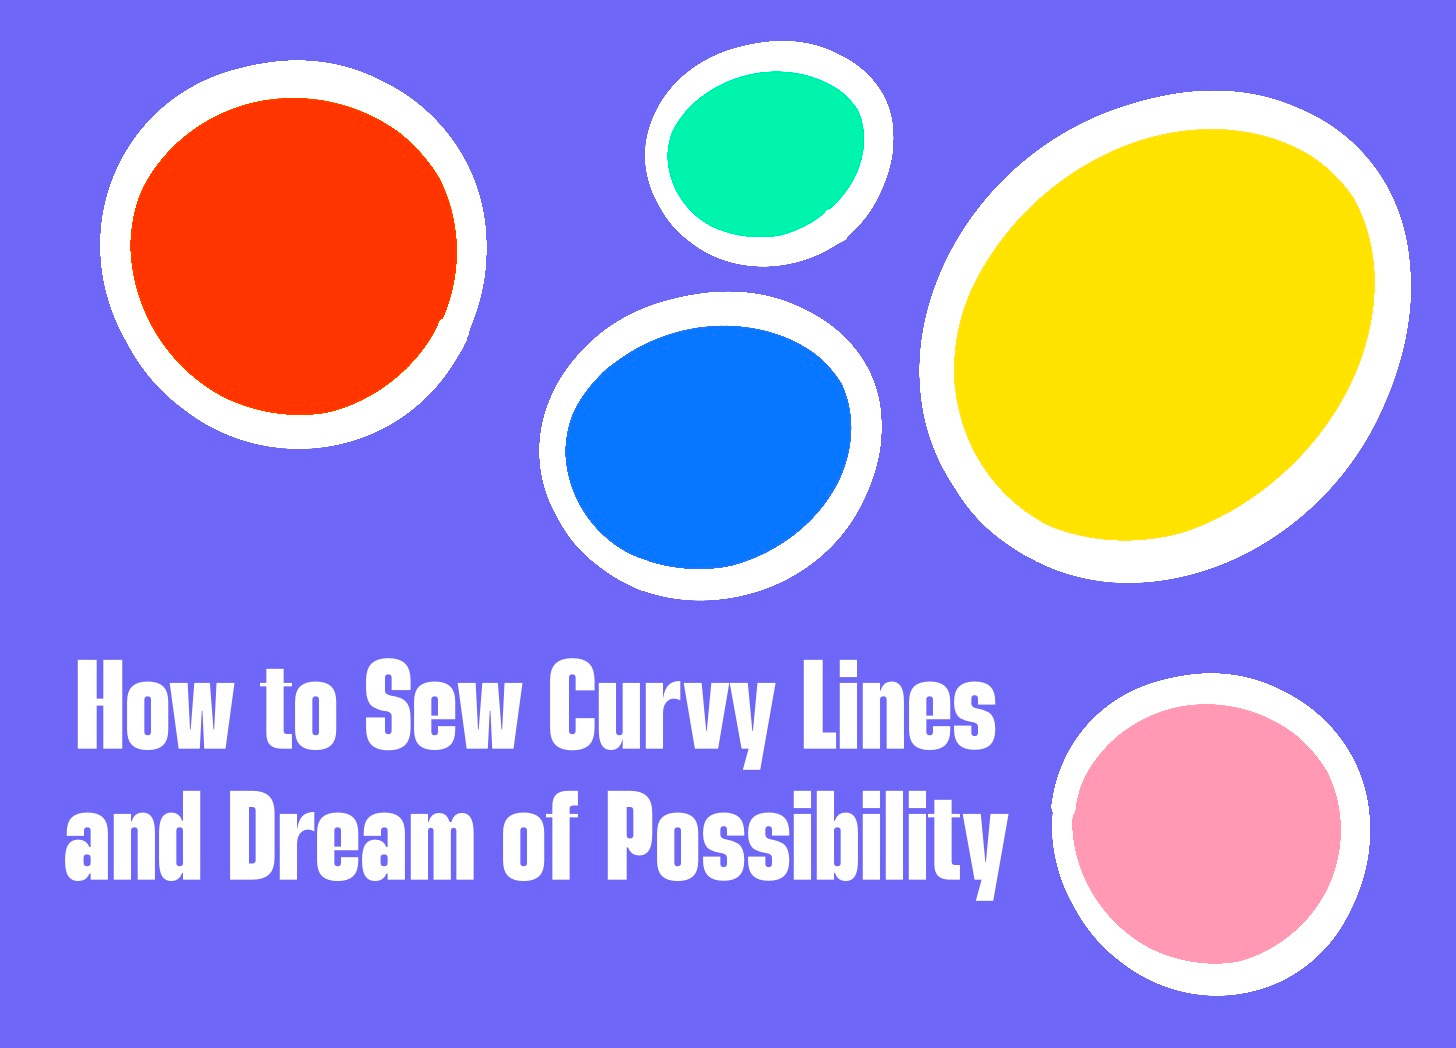
how to sew curvy lines and dream of possibility
I love improvisational patchwork and you should too

This post is adapted from my zine “10 Flipping Ways to Make Patchwork for your Next Garment.” If you are reading this at the time of publication, then you can get a copy here.
Note: Garbie will now come out on Friday and Monday. The Monday post will be for paid subscribers and cover broader topics like creativity and art-making. A monthly exclusive video is also included for paid subscribers of Garbie.
Why Patchwork?
I love to make clothes but I love to make patchwork even more. This is the process of combining pieces of fabric to create a larger pattern. Popular in quilting, this process has dominated the fashion world for the past several years. Checkerboard is absolutely everywhere and so is all sorts of other patterns.
I also love patchwork because it is sustainable. I often combine fabric from clothing that is damaged or undesirable (think of a 10K t-shirt at a reuse store) and I turn that into a piece that I will love and wear.
Patchwork doesn’t have to be complicated, I often use these techniques to combine similar weight fabrics so that I can create more fabric to use in a project. I think patchwork provides visual interest and to me it satisfies my desire to design something unique that only I have.
Creating patchwork as a spiritual practice
I often think about the meditative state that I get in when I create. Just me and the sewing machine and color, pattern, and texture. I combine and cut and rip and dream of the possibility of what I am making. In my mind there is always a finished piece that I am chasing and I feel it deep down in my gut when I have achieved what I was meant to achieve.
I show up at my sewing machine, ready to create and open to the possibilities in front of me. I hope that is how I show up to my life as well. I hope I am open to the chances that are available for me to pursue. I wish to know where I am headed and to feel it deep down in my gut when I have arrived.
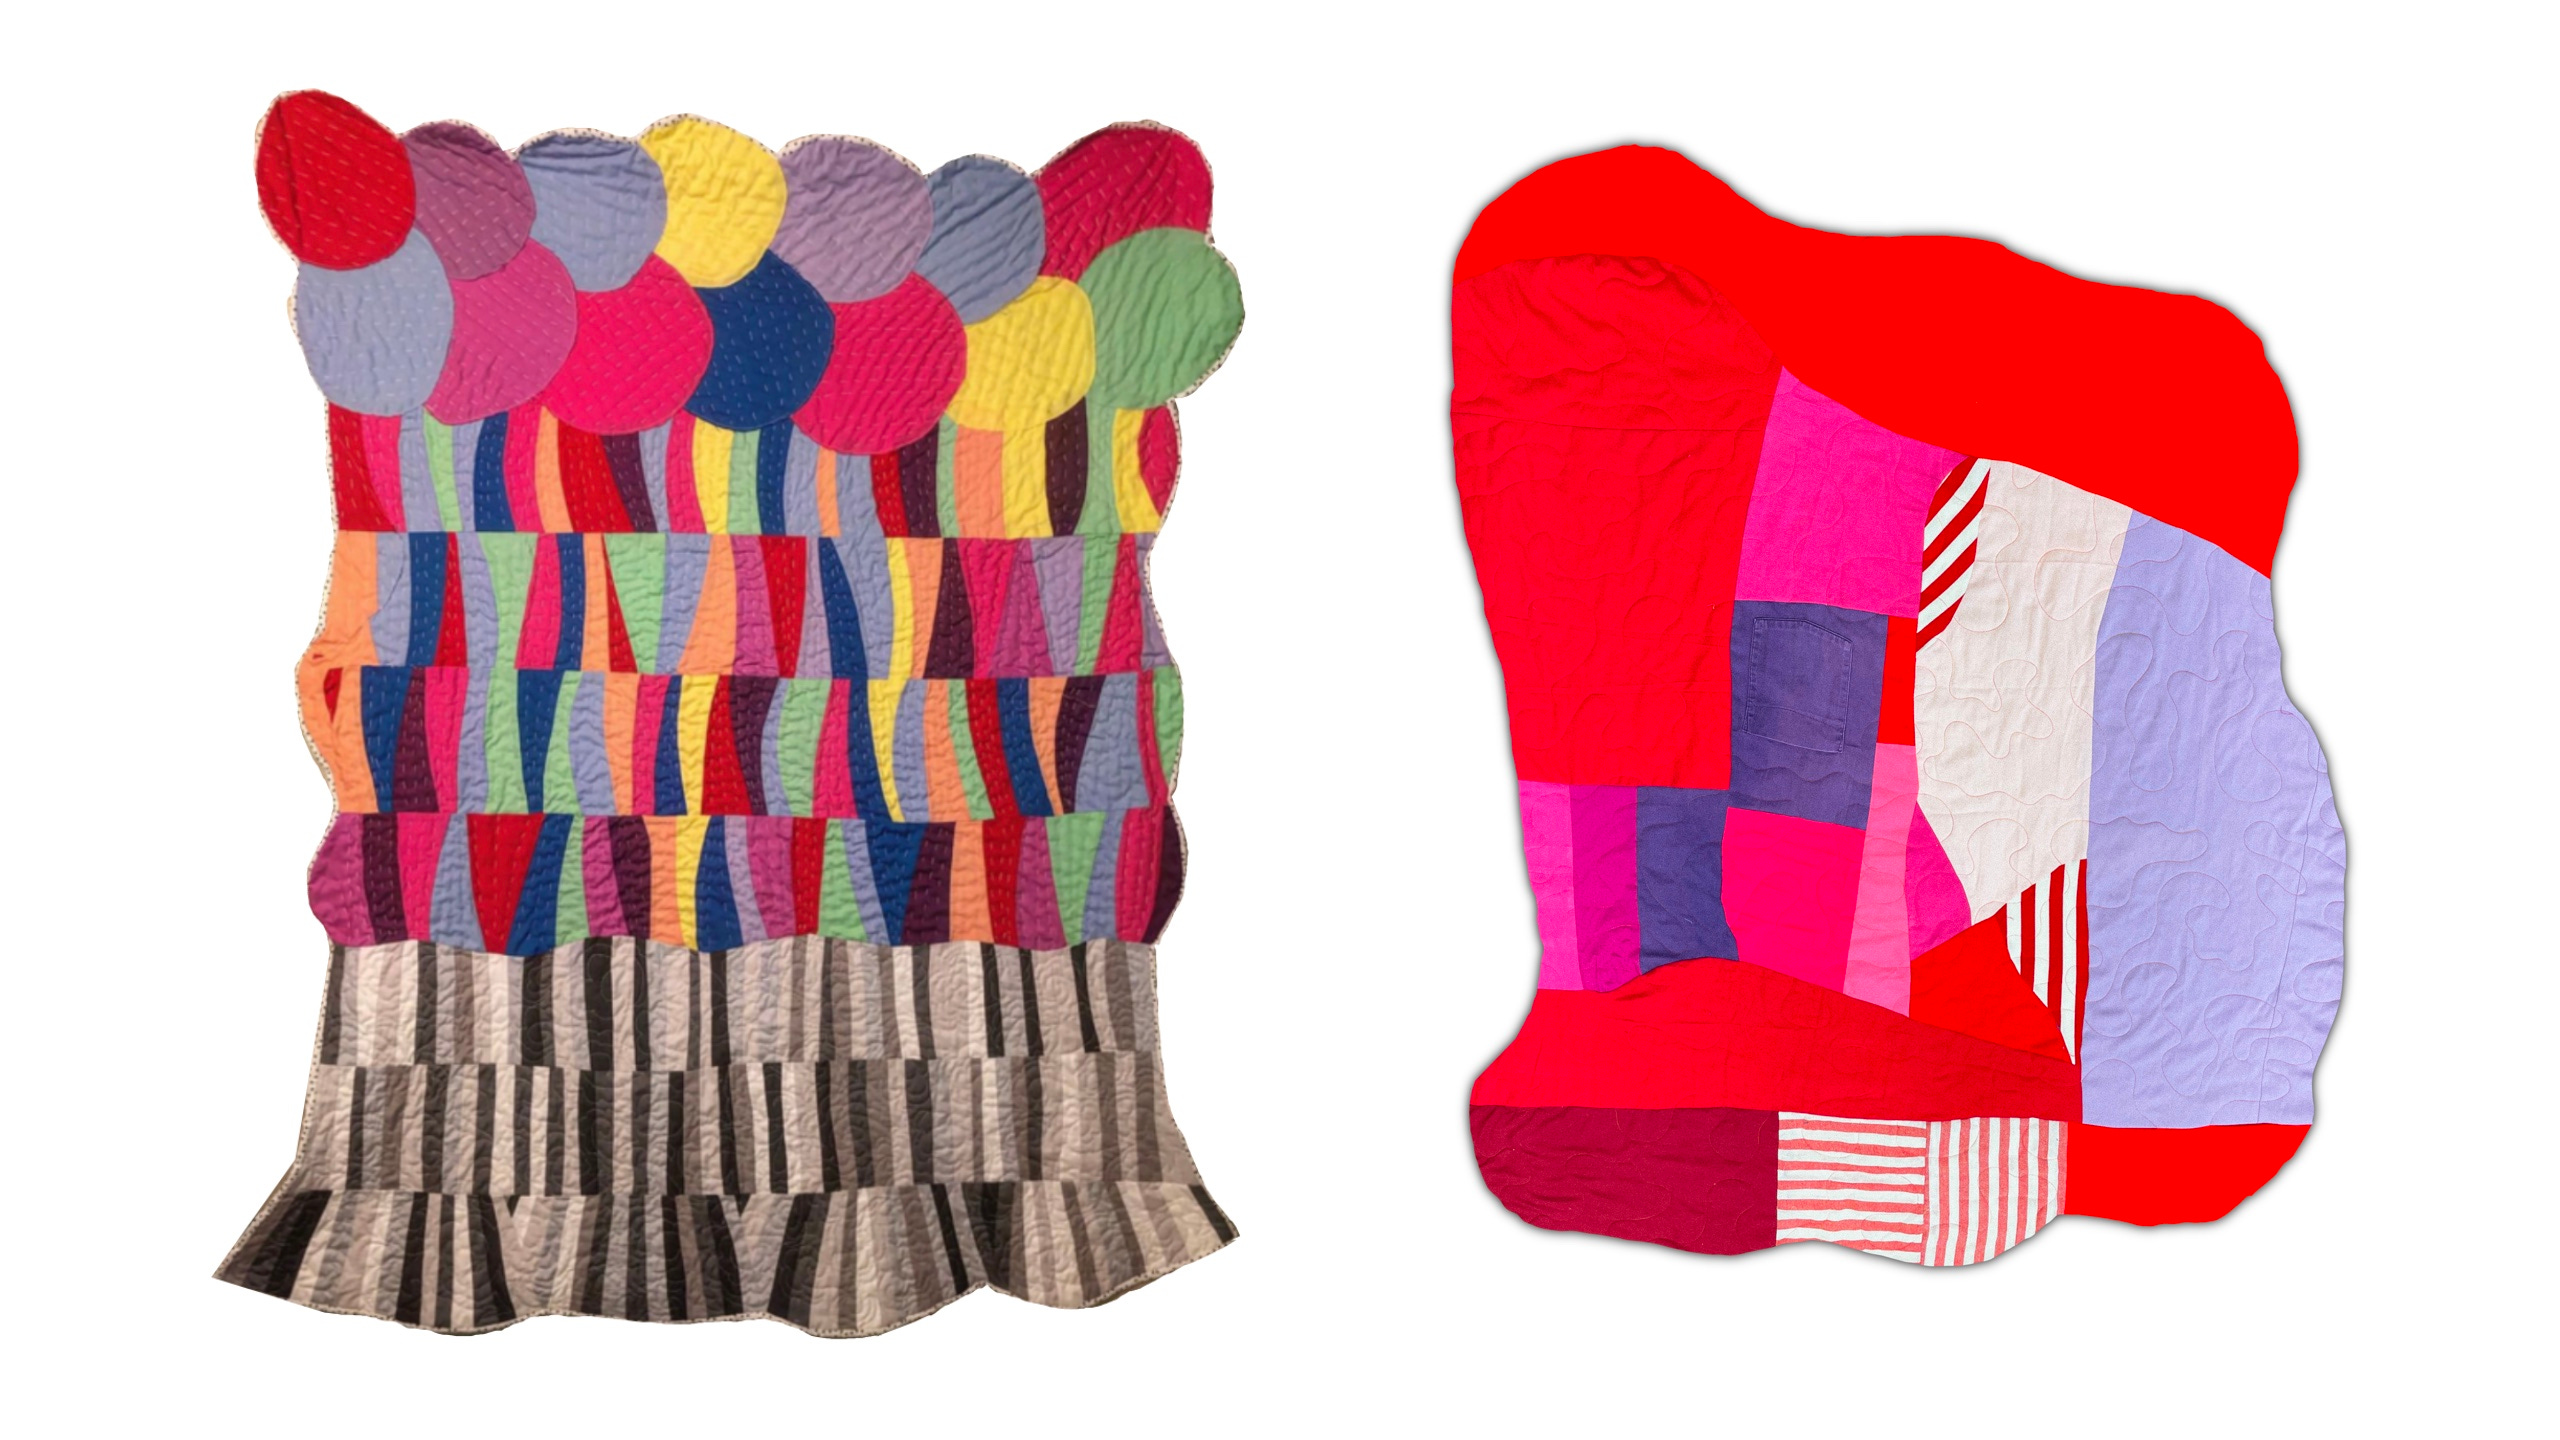
How to Sew Curvy Lines
In order to begin, start by taking a wide strip of fabric and cutting a random slightly curved and wavy line along the edge of the strip.
Next, overlay that wavy edge with another strip of fabric. When you look at both of these strips of fabric, your wavy edge should be roughly in the middle.
Cut the second strip along this wavy edge so that you end up with two strips that match (or are mirror images of each other).
Next, flip the right piece over so that the right sides (or pretty sides) are touching and sew the pieces together (note: go slow, and keep repositioning the fabric so that the edges are aligned. Use a consistent seam allowance).
Iron when done for a flat finish. Repeat as desired.
Note: Make sure to cut the strips of fabric a bit wider that the width of your desired finished piece. A lot is lot with cutting the wavy line and then the seam allowance on top of that.
Did you know you can get rewards for sharing Garbie with a friend? Go to the Leaderboard section to get your referral link. Sharing Garbie with three friends who sign up gets you a digital copy of my first sewing zine!